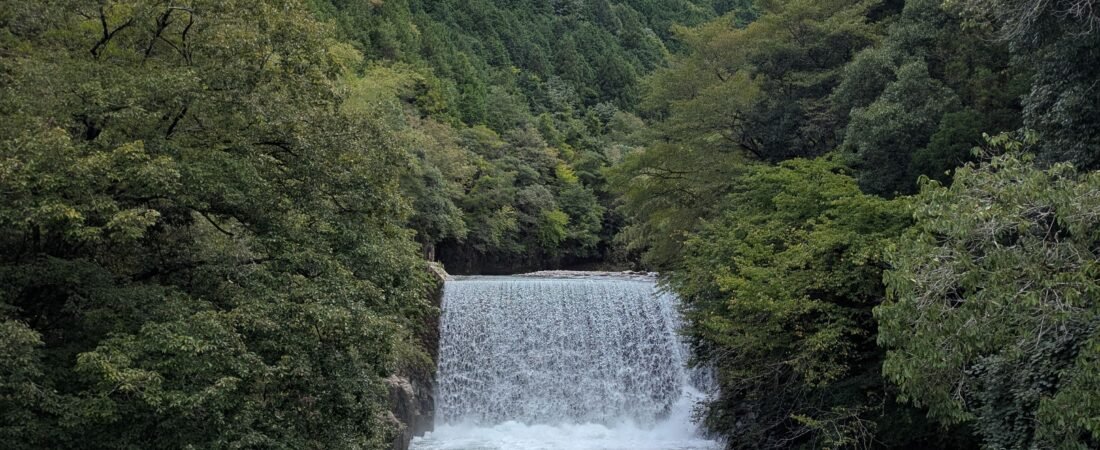
The Nakasendo trail is a historic trade and travel route, often used by the ancient Samurai, that connected Edo (modern-day Tokyo) and Kyoto over 534 kilometers. It takes you into bamboo forests, to mountain tops, alongside rivers and through valleys, all while offering 69 post towns (jukus) where travelers can rest and recover.
You’ll discover Japanese mountain towns in the Kiso valley, local shrines, and picture the Japanese of old marching on the same ground.
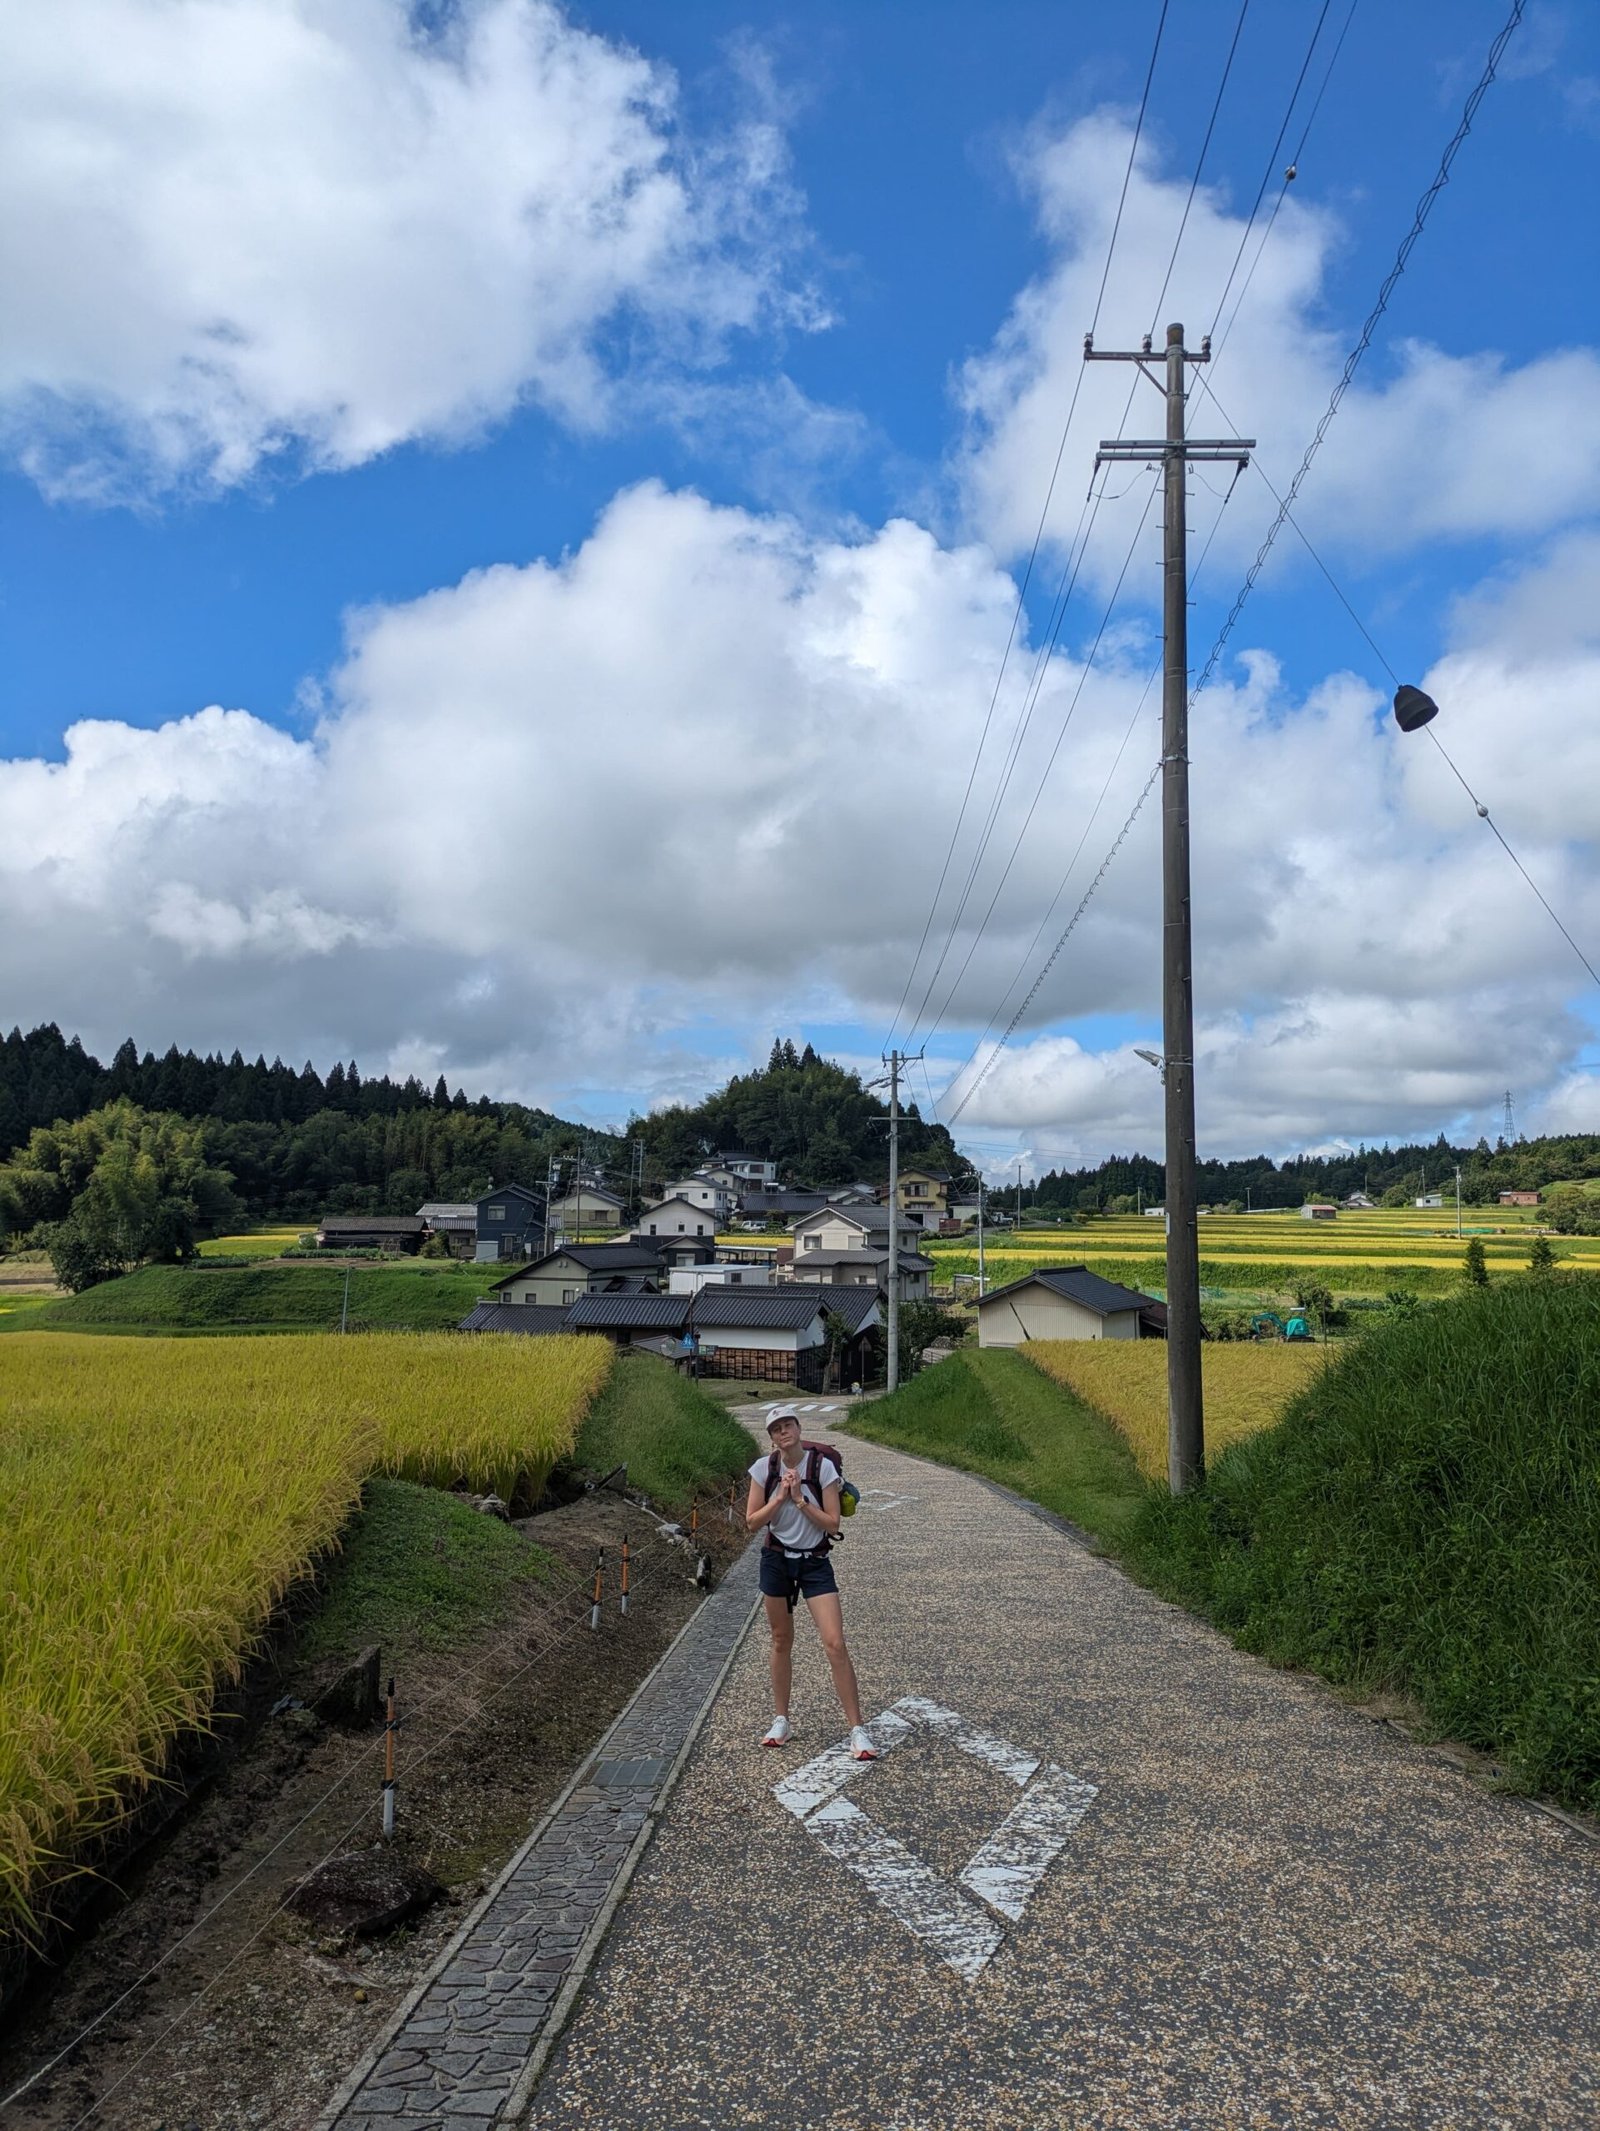
When is the best time to hike?
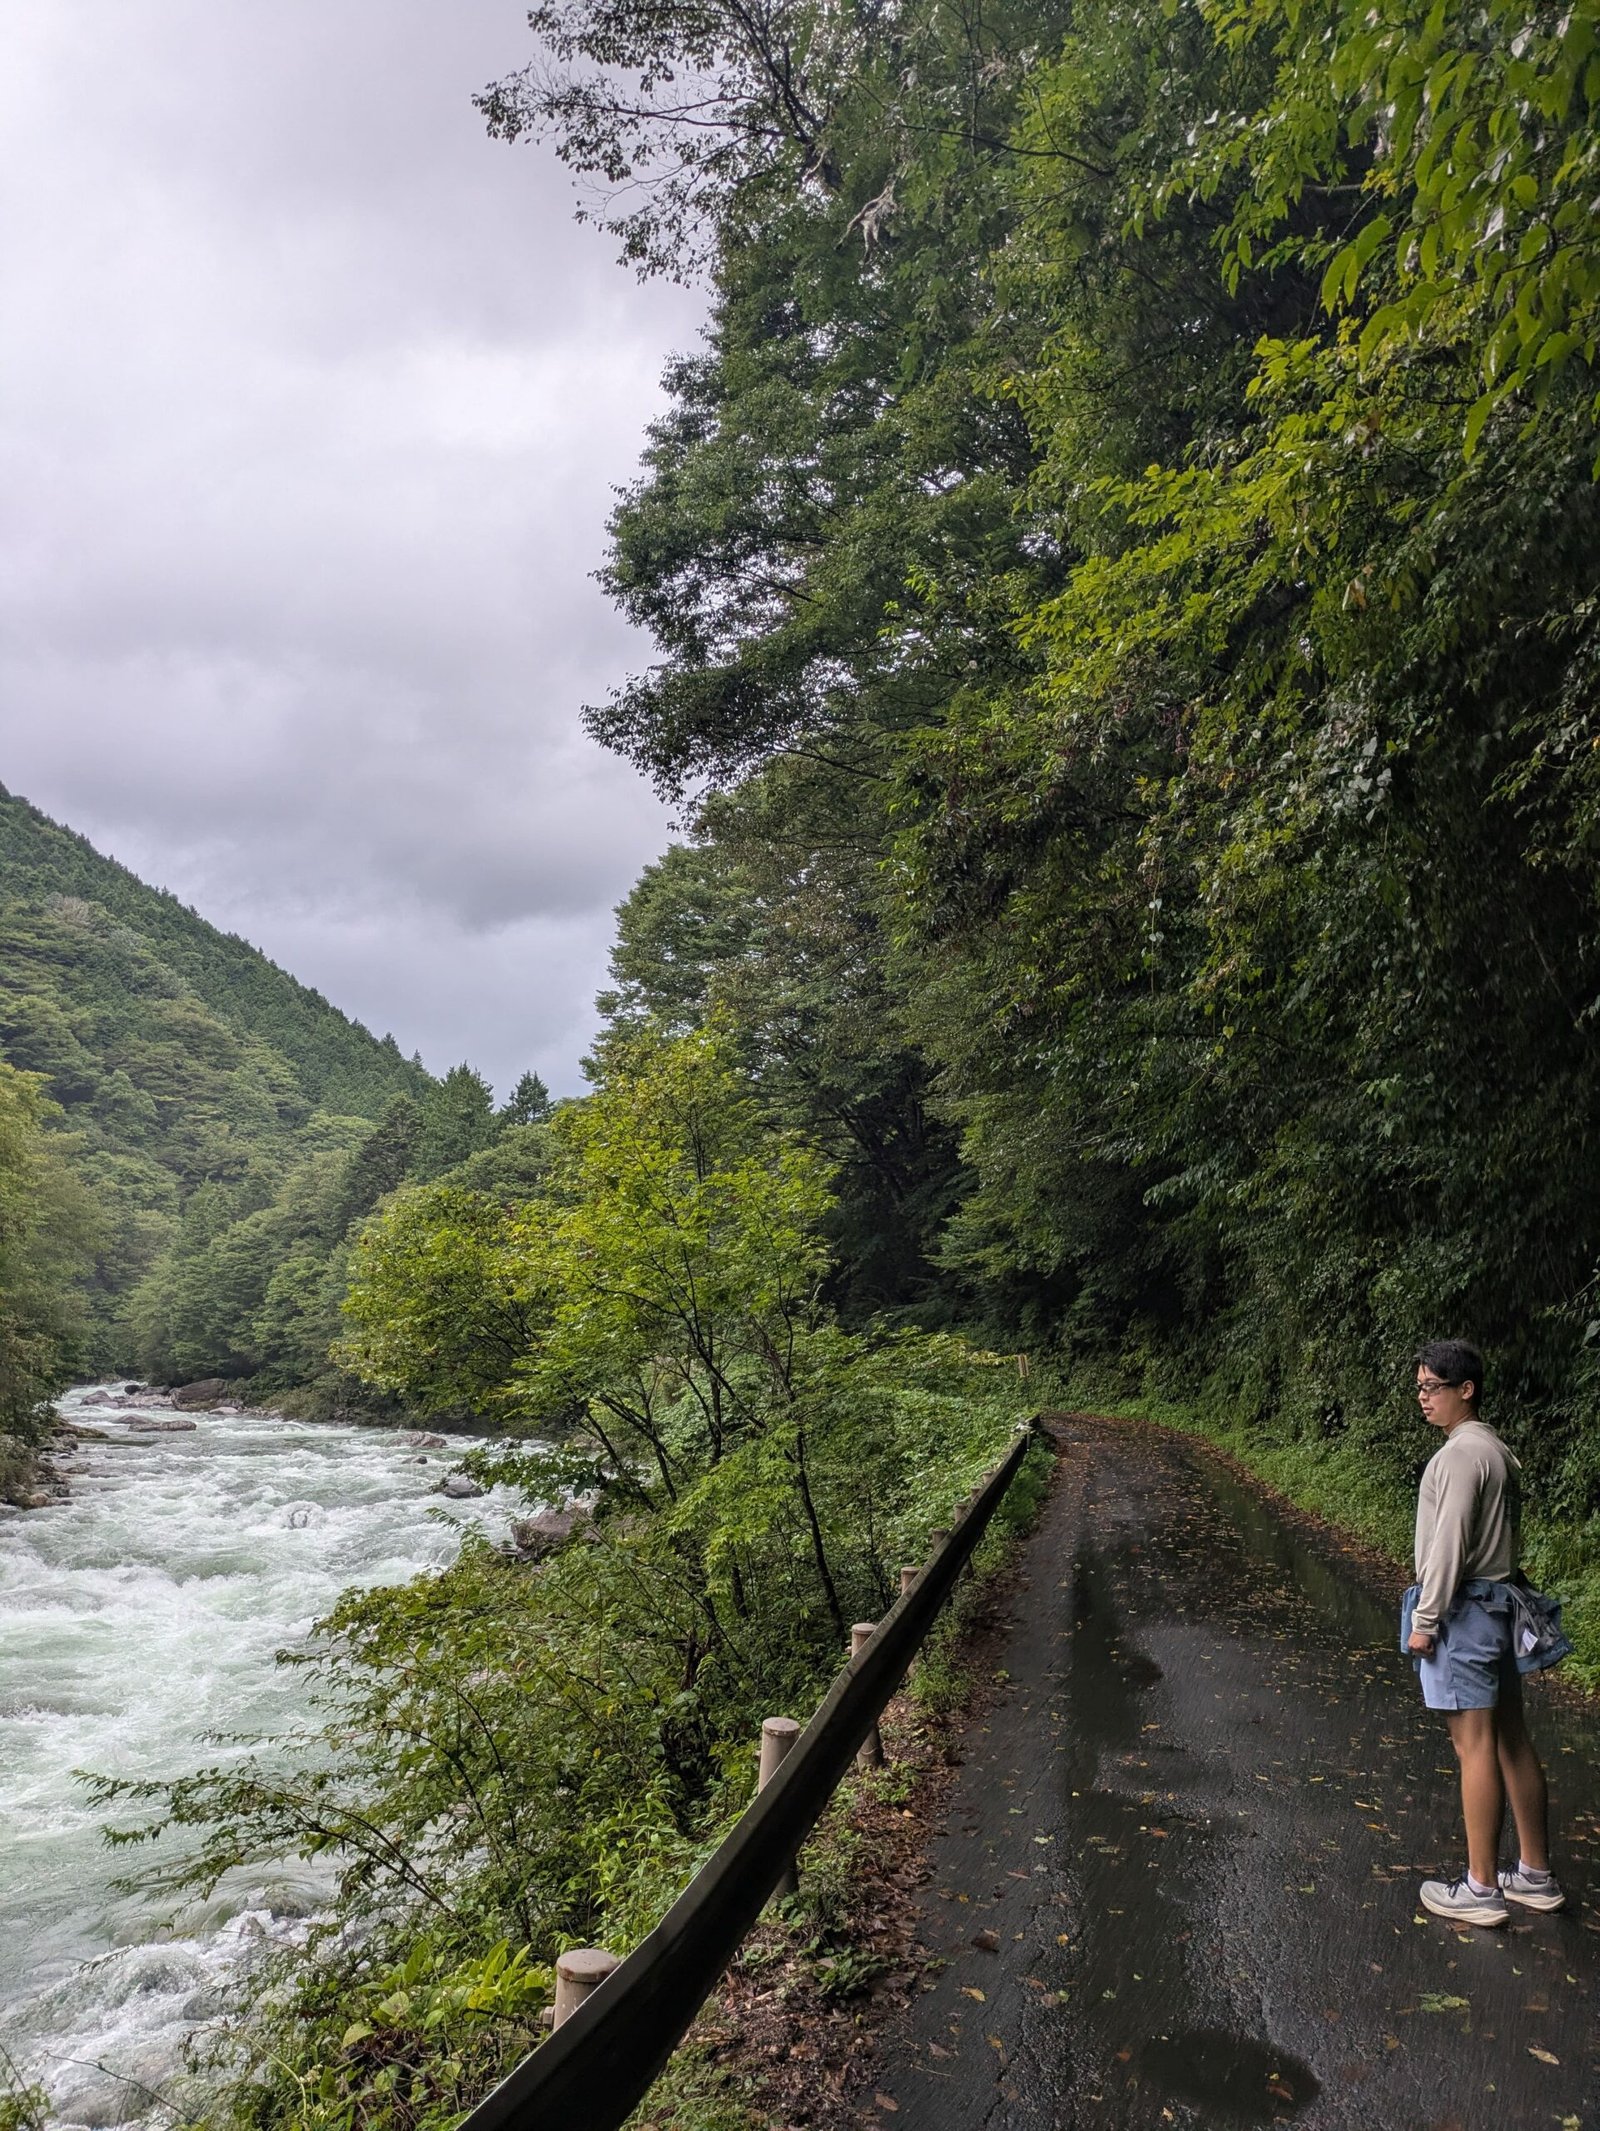
I hiked in September 2026, although we still enjoyed the views we got drenched! If you can handle the heat, summer would be a great time to hike, otherwise I would do it again in October to get fall colors and avoid excessive rain.
How to Plan Your Nakasendo Hike
Since the hike is on stones and gravel trails, you won’t want to lug any suitcases around. There is a luggage service that runs specifically for hikers along the Nakasendo and will deliver your bags to your hotel/guesthouse. They will pick up the luggages from your hotel in the morning and deliver it to your next stop on the same day. Costs are unique for every trip, as it depends on the areas you’re staying in. You can find out more here https://magome-luggagetransport.jp.
Bring a water bottle. There are refill stations along the trail, and the small towns have cafes and shops for snacks
All of the towns along the Nakasendo are quite small and close early, so you’ll want to reserve a lodging in advance. They’re also not the easiest areas to navigate, with minimal signs for hotels/guesthouses. We booked everything on Booking.com.
I will always recommend a rain jacket and a rain cover for your backpack if you’re heading out in May/June or September (like us)!
Best Sections of the Nakasendo Trail to Hike
Hiking the entire 534 km trail is doable but not recommended. Large stretches have been paved over, so you’d spend much of it on asphalt, passing through urban sprawl and along busy highway shoulders. Most people hike it in sections, since trains and buses are easy to reach from the post towns, and the post towns themselves are lovely to walk through.
Magome to Tsumago: The Most Popular Section
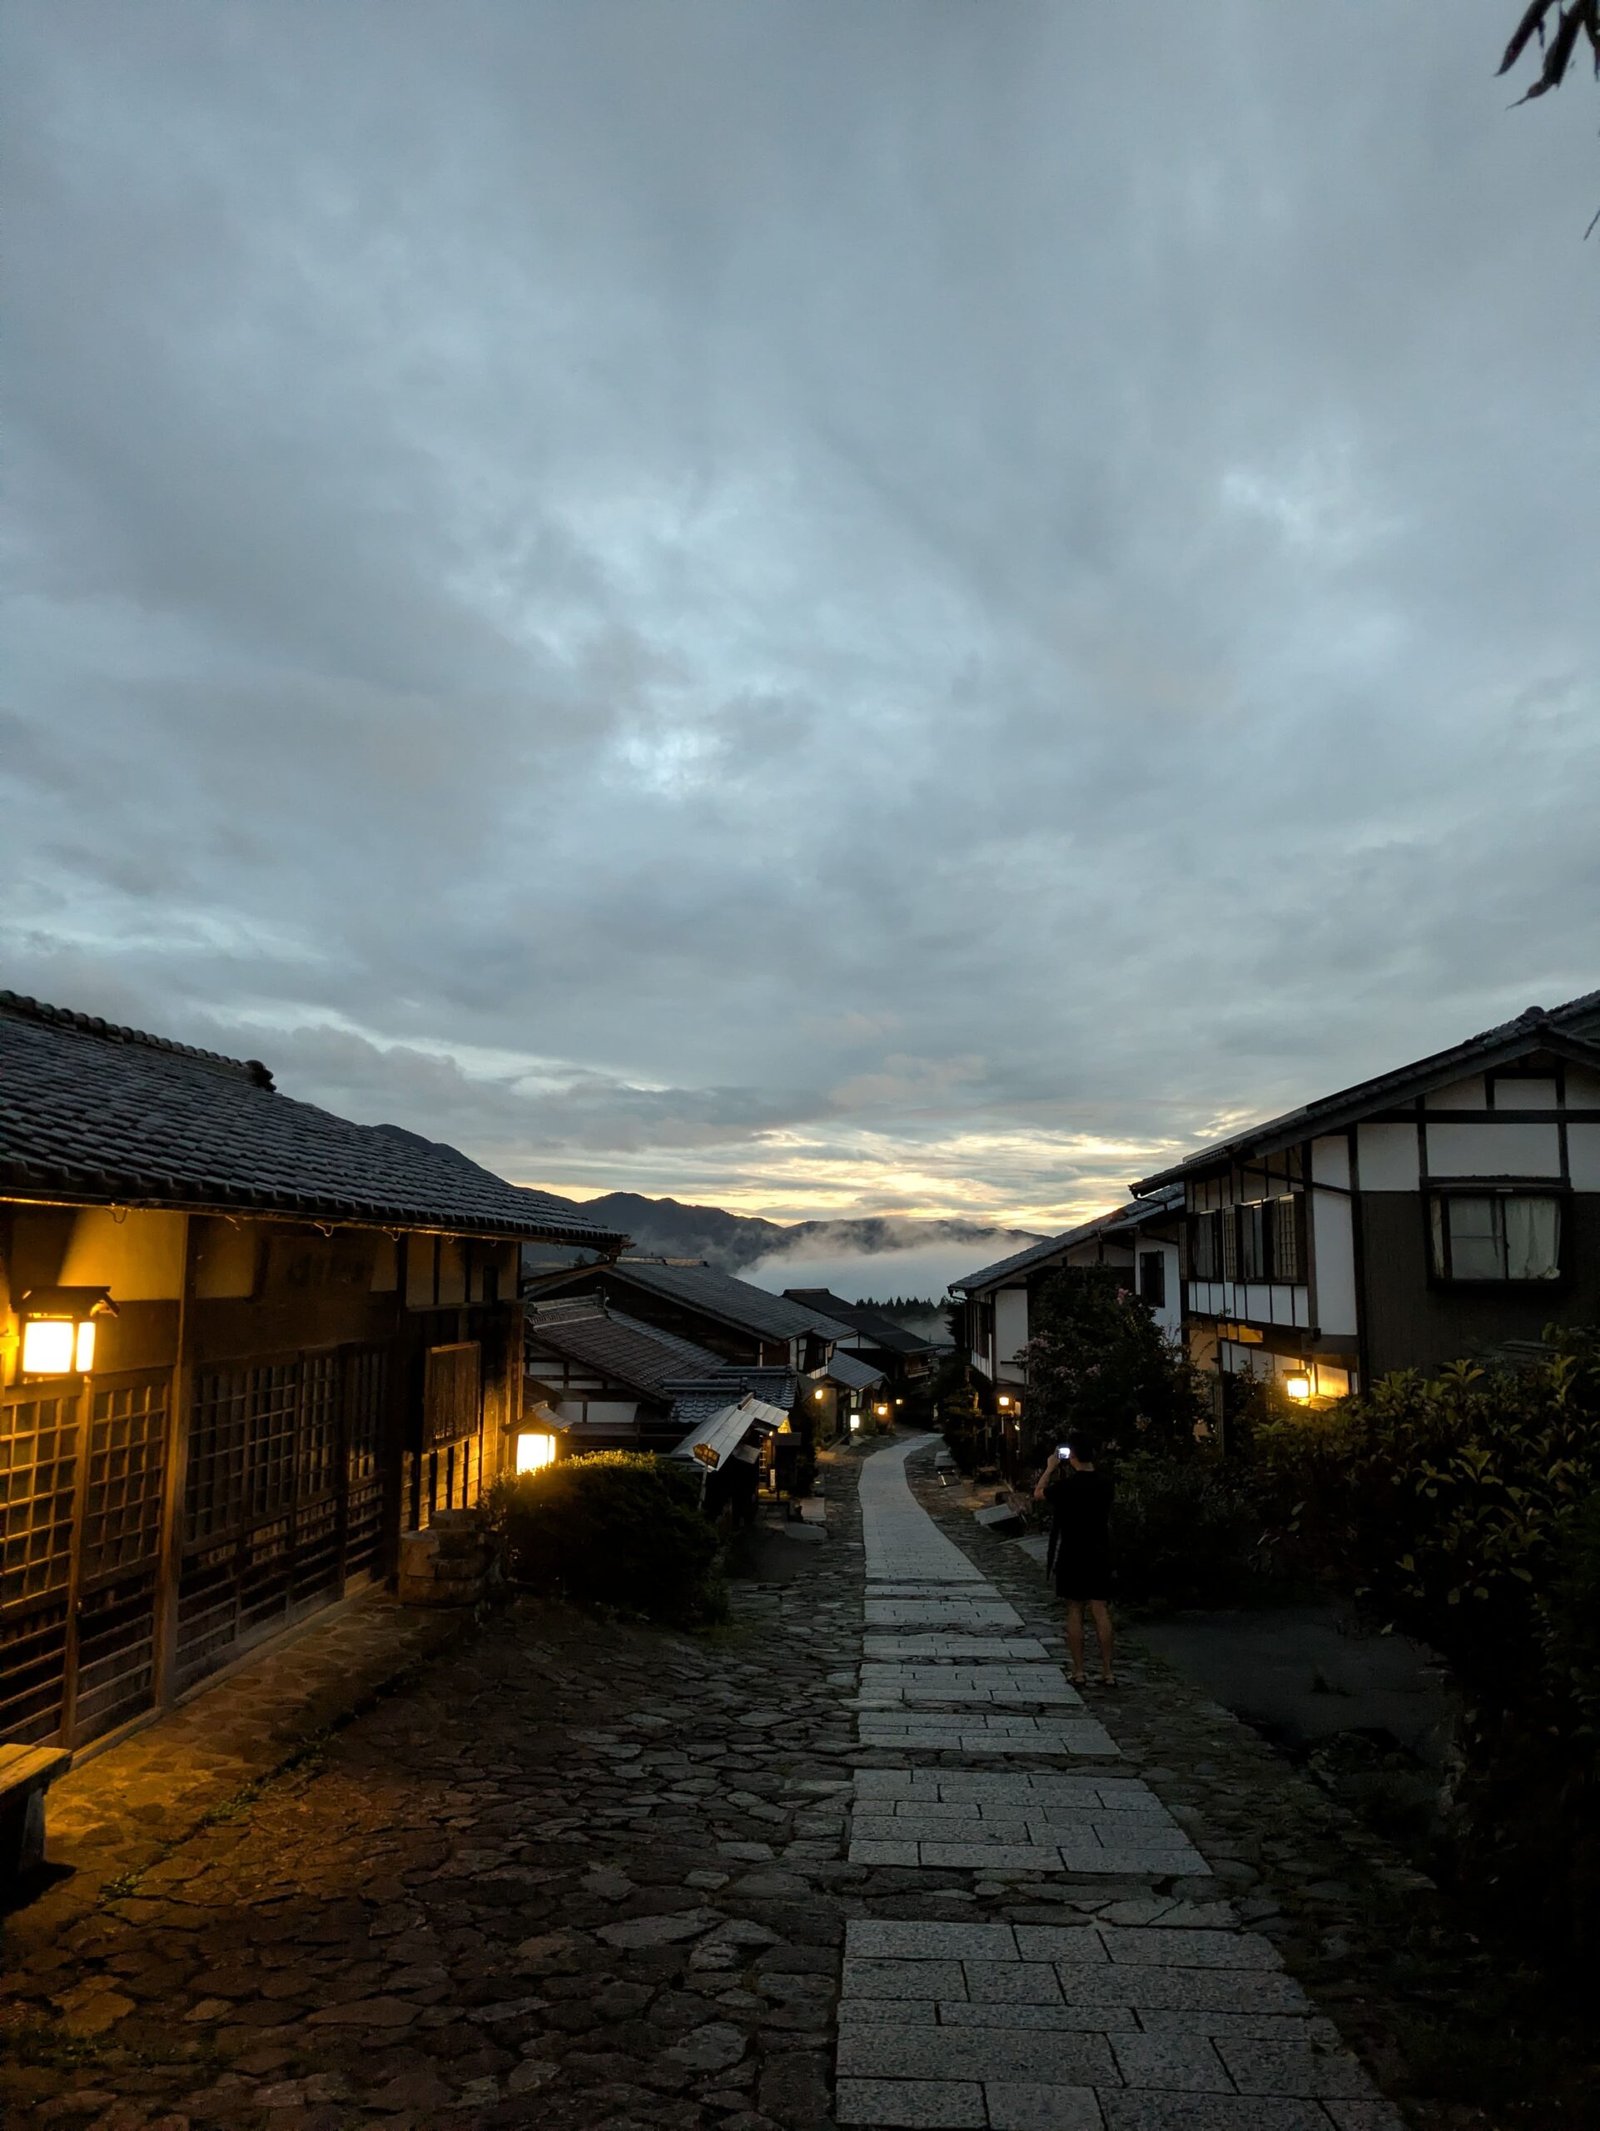
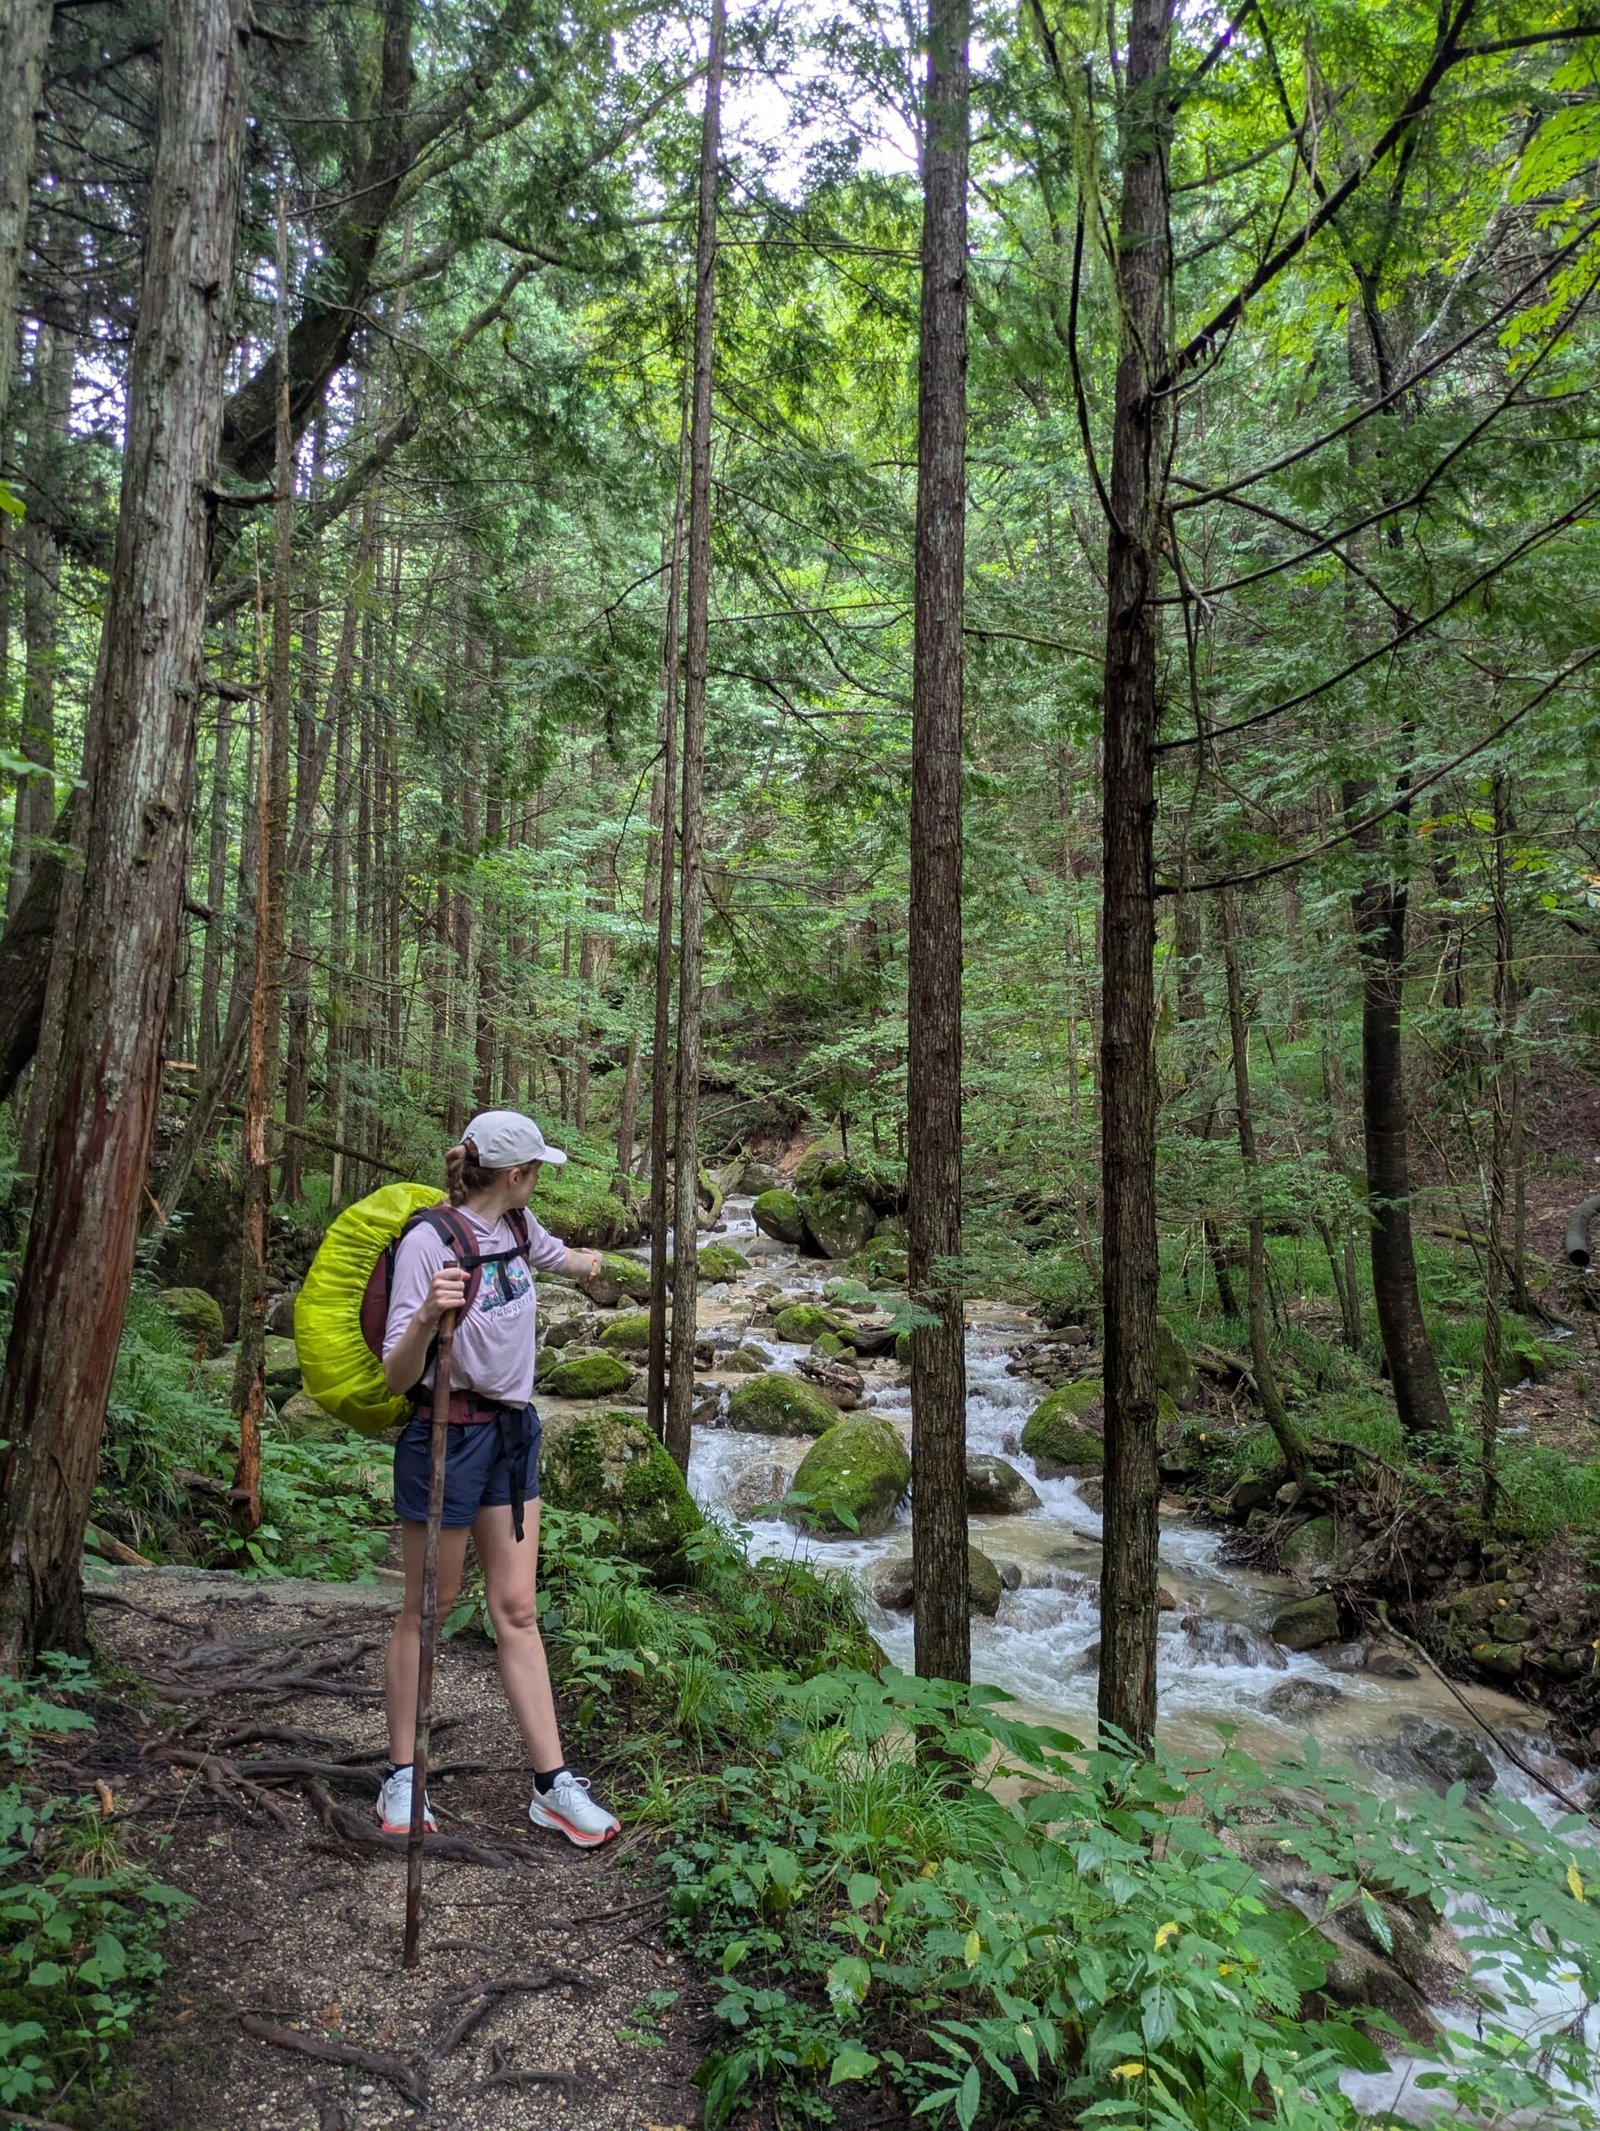
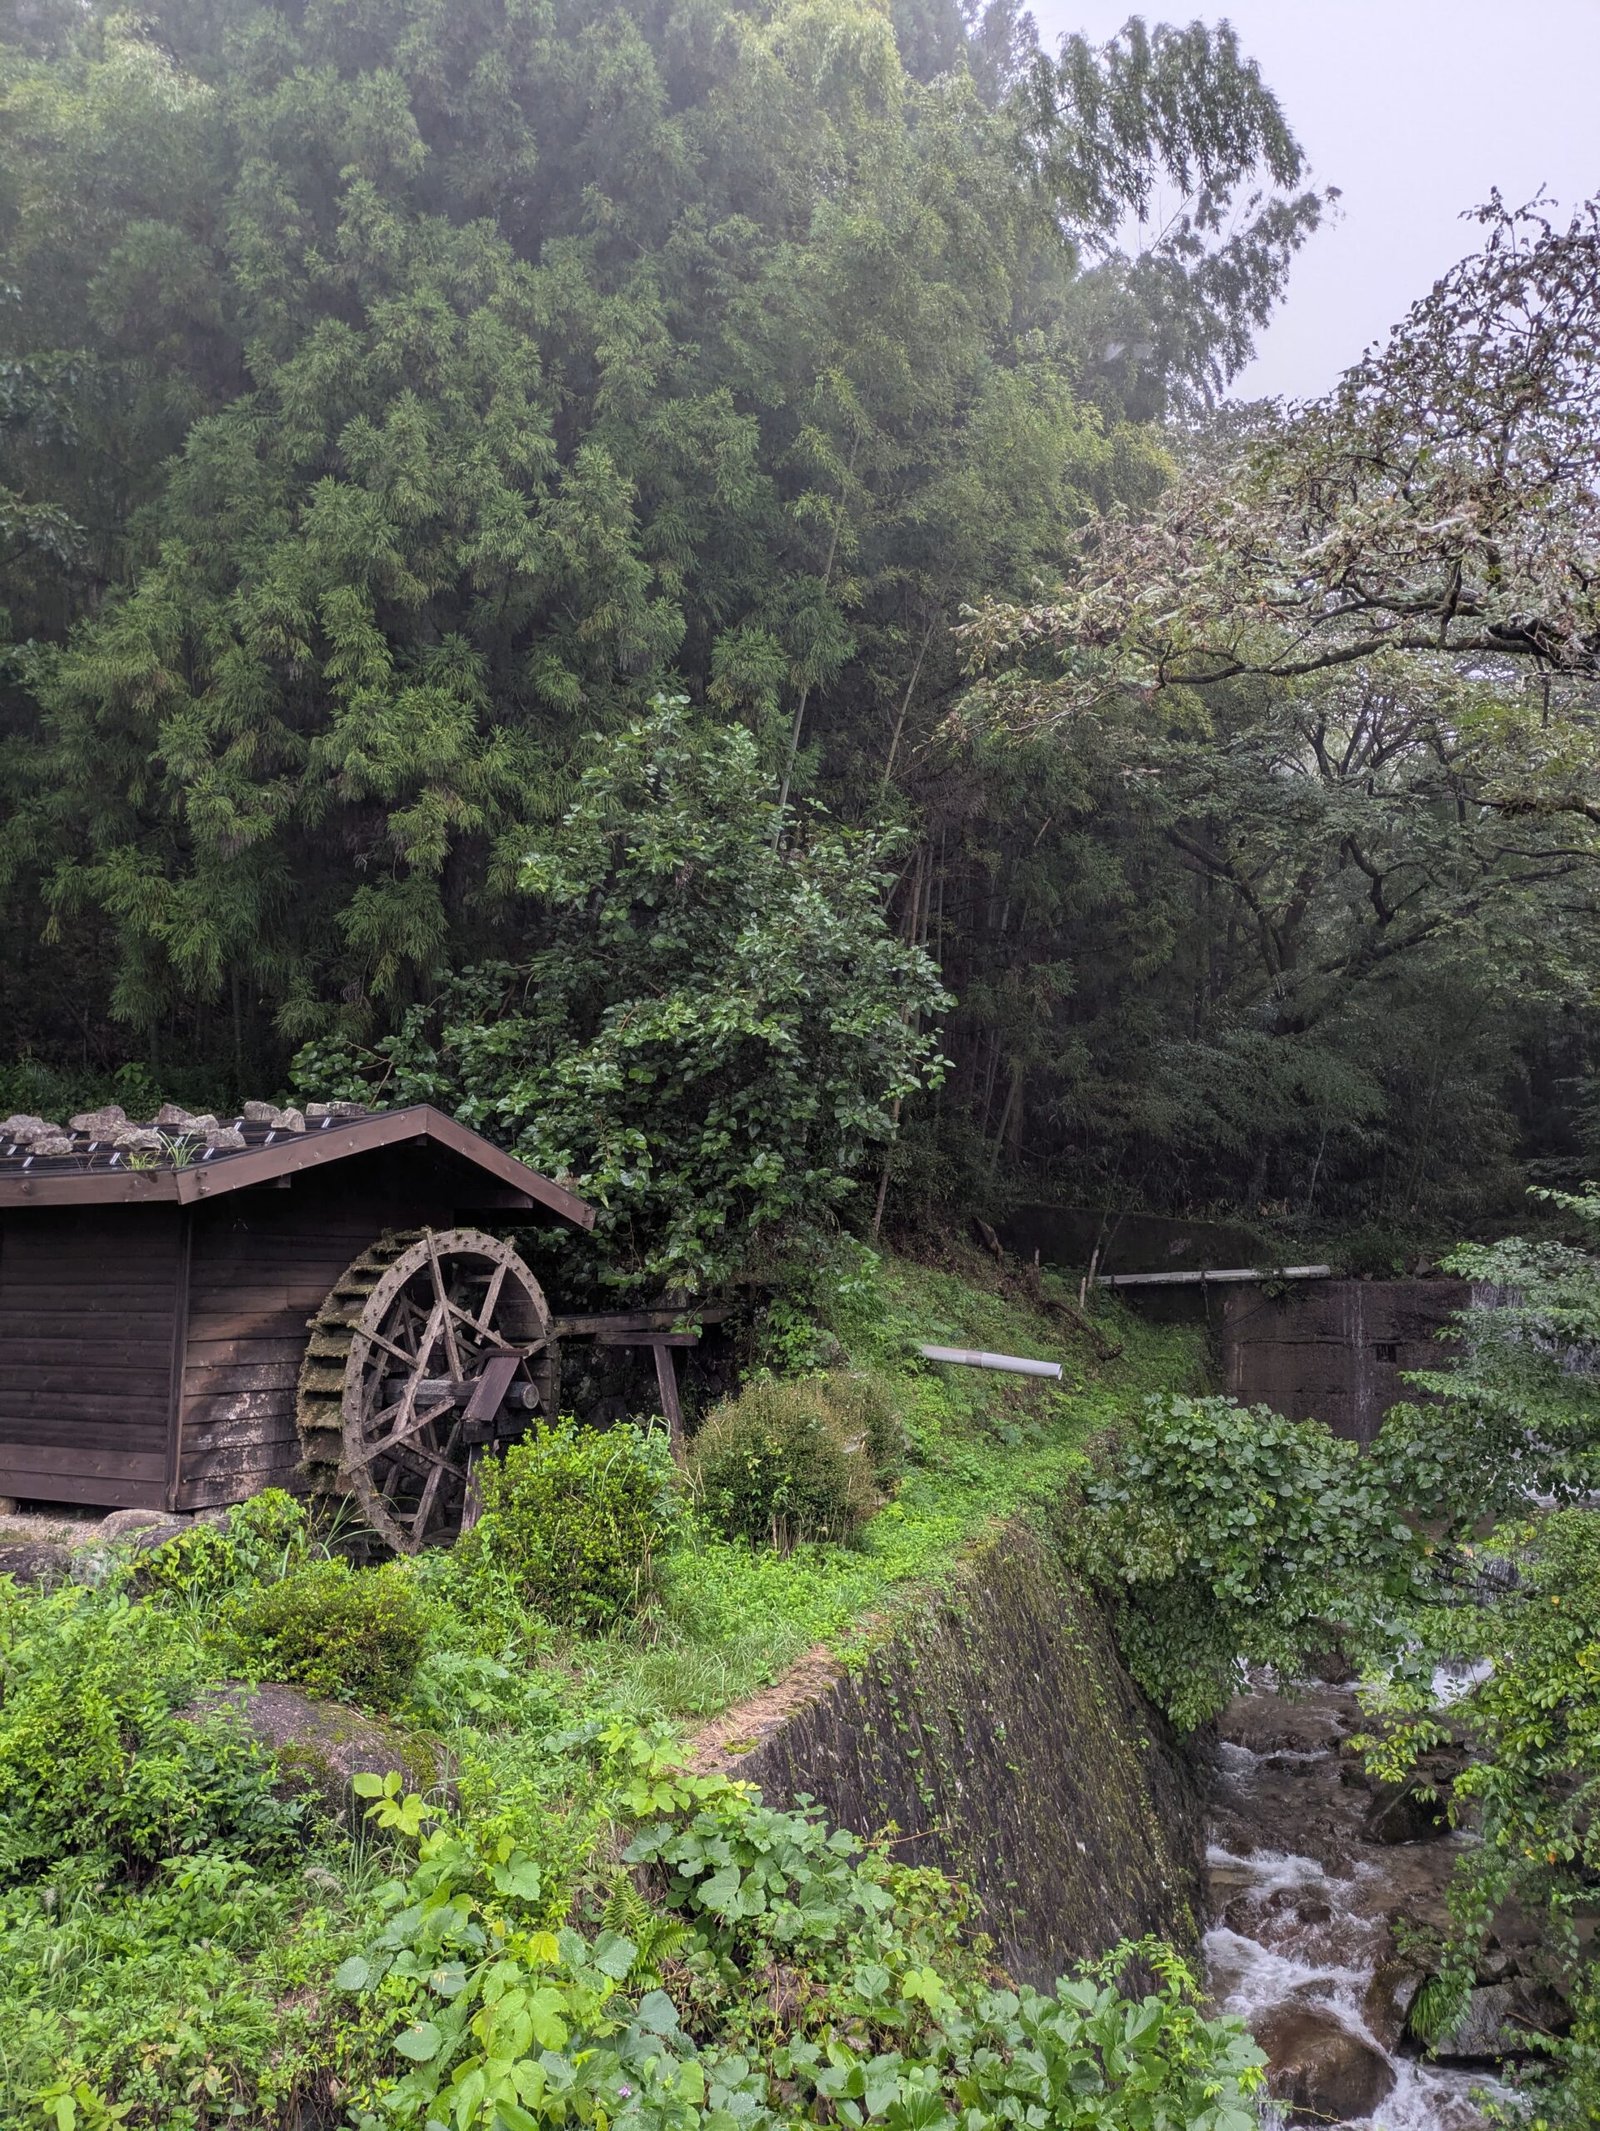
Nagiso to Magome via the Magome Pass
Narai to Yabuhara via the Torii Pass
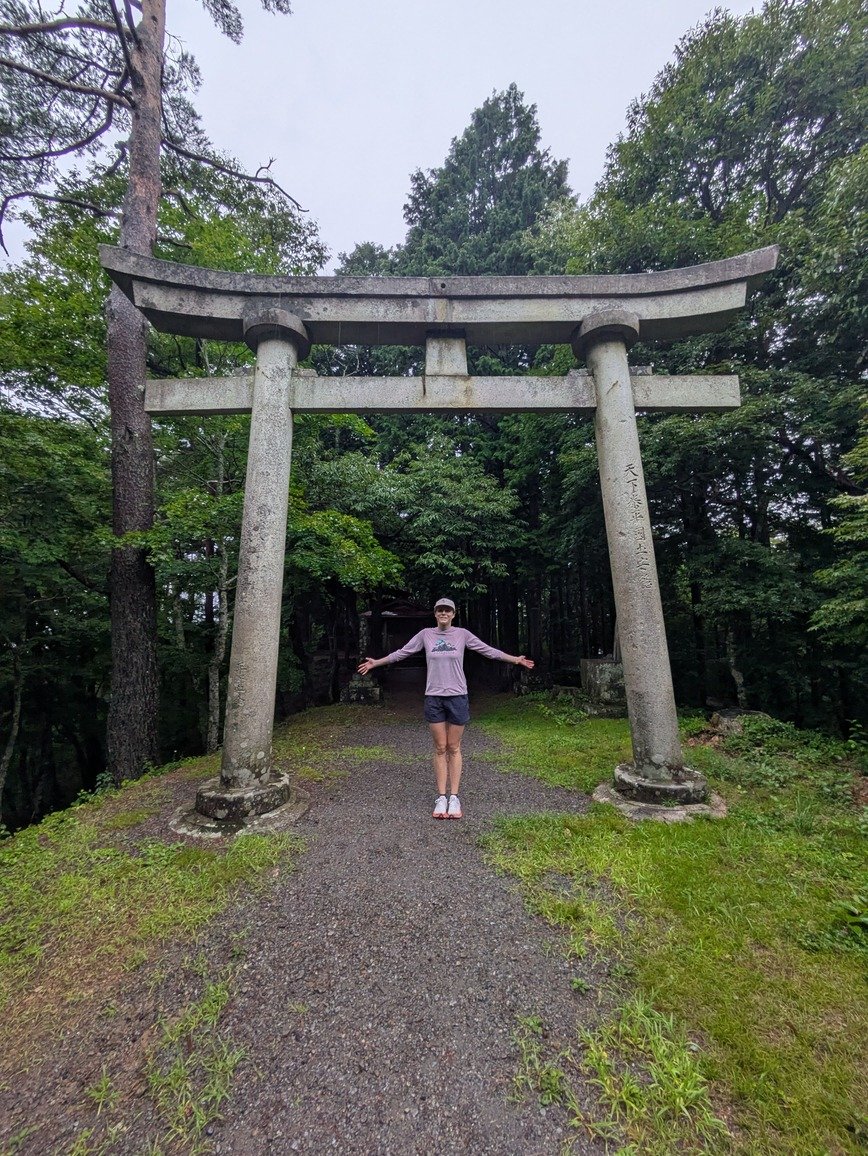
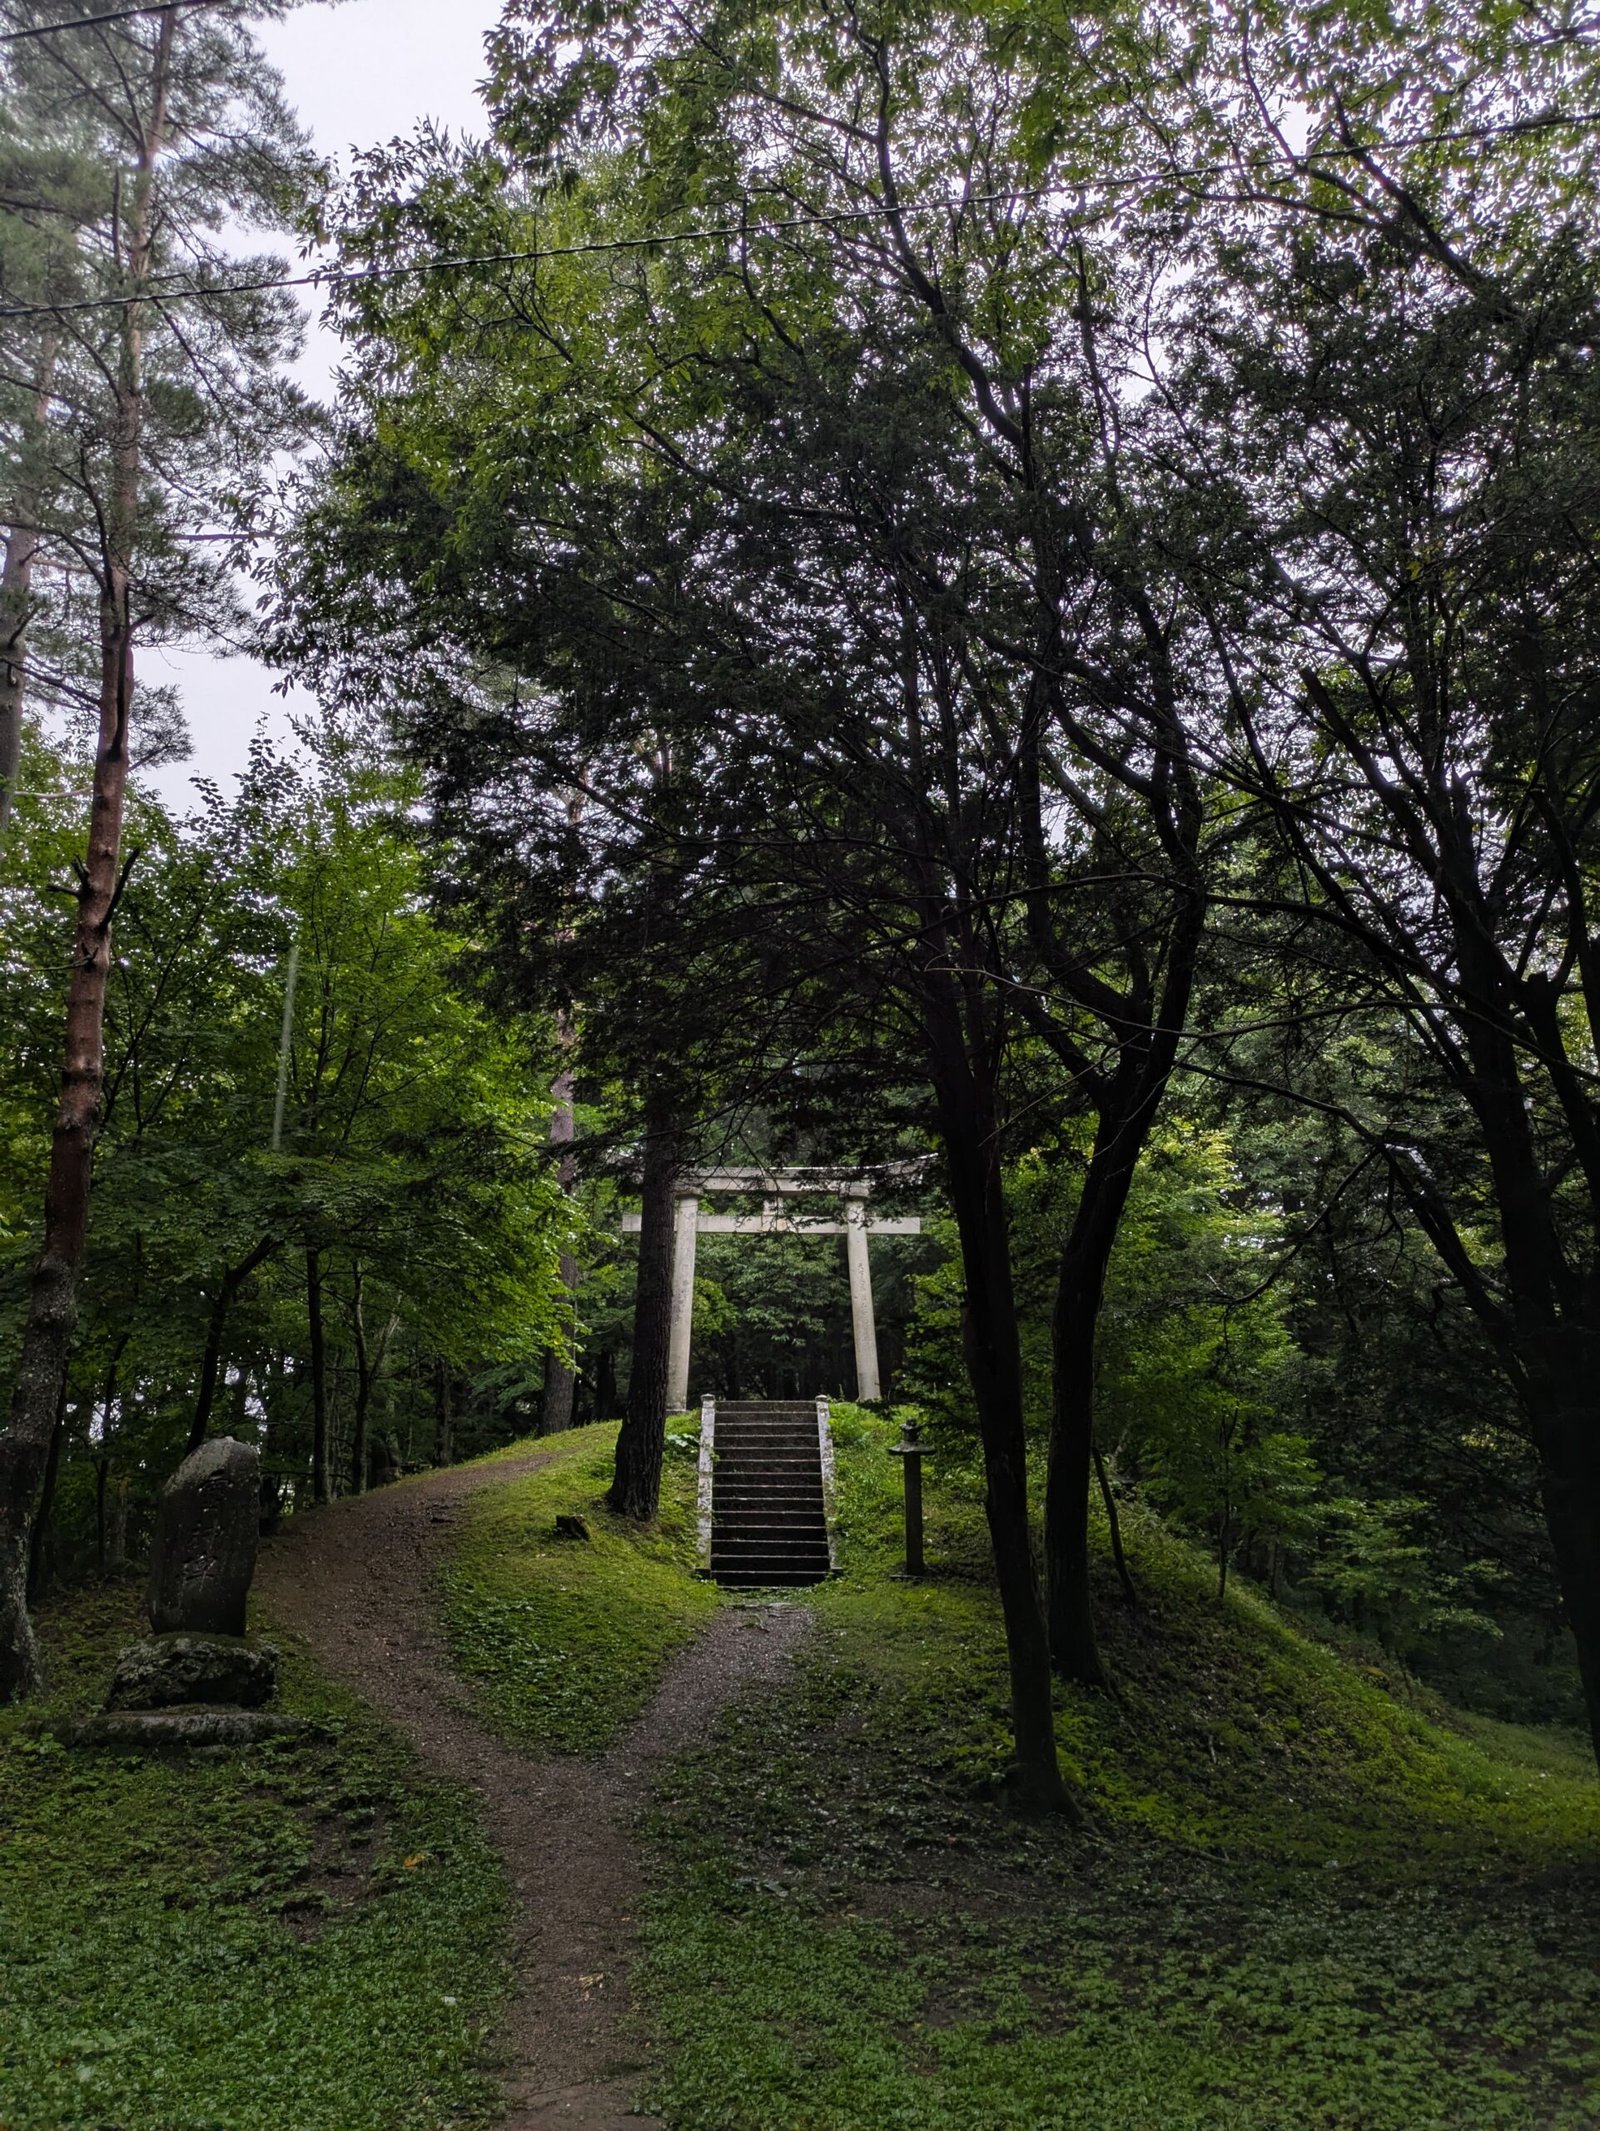
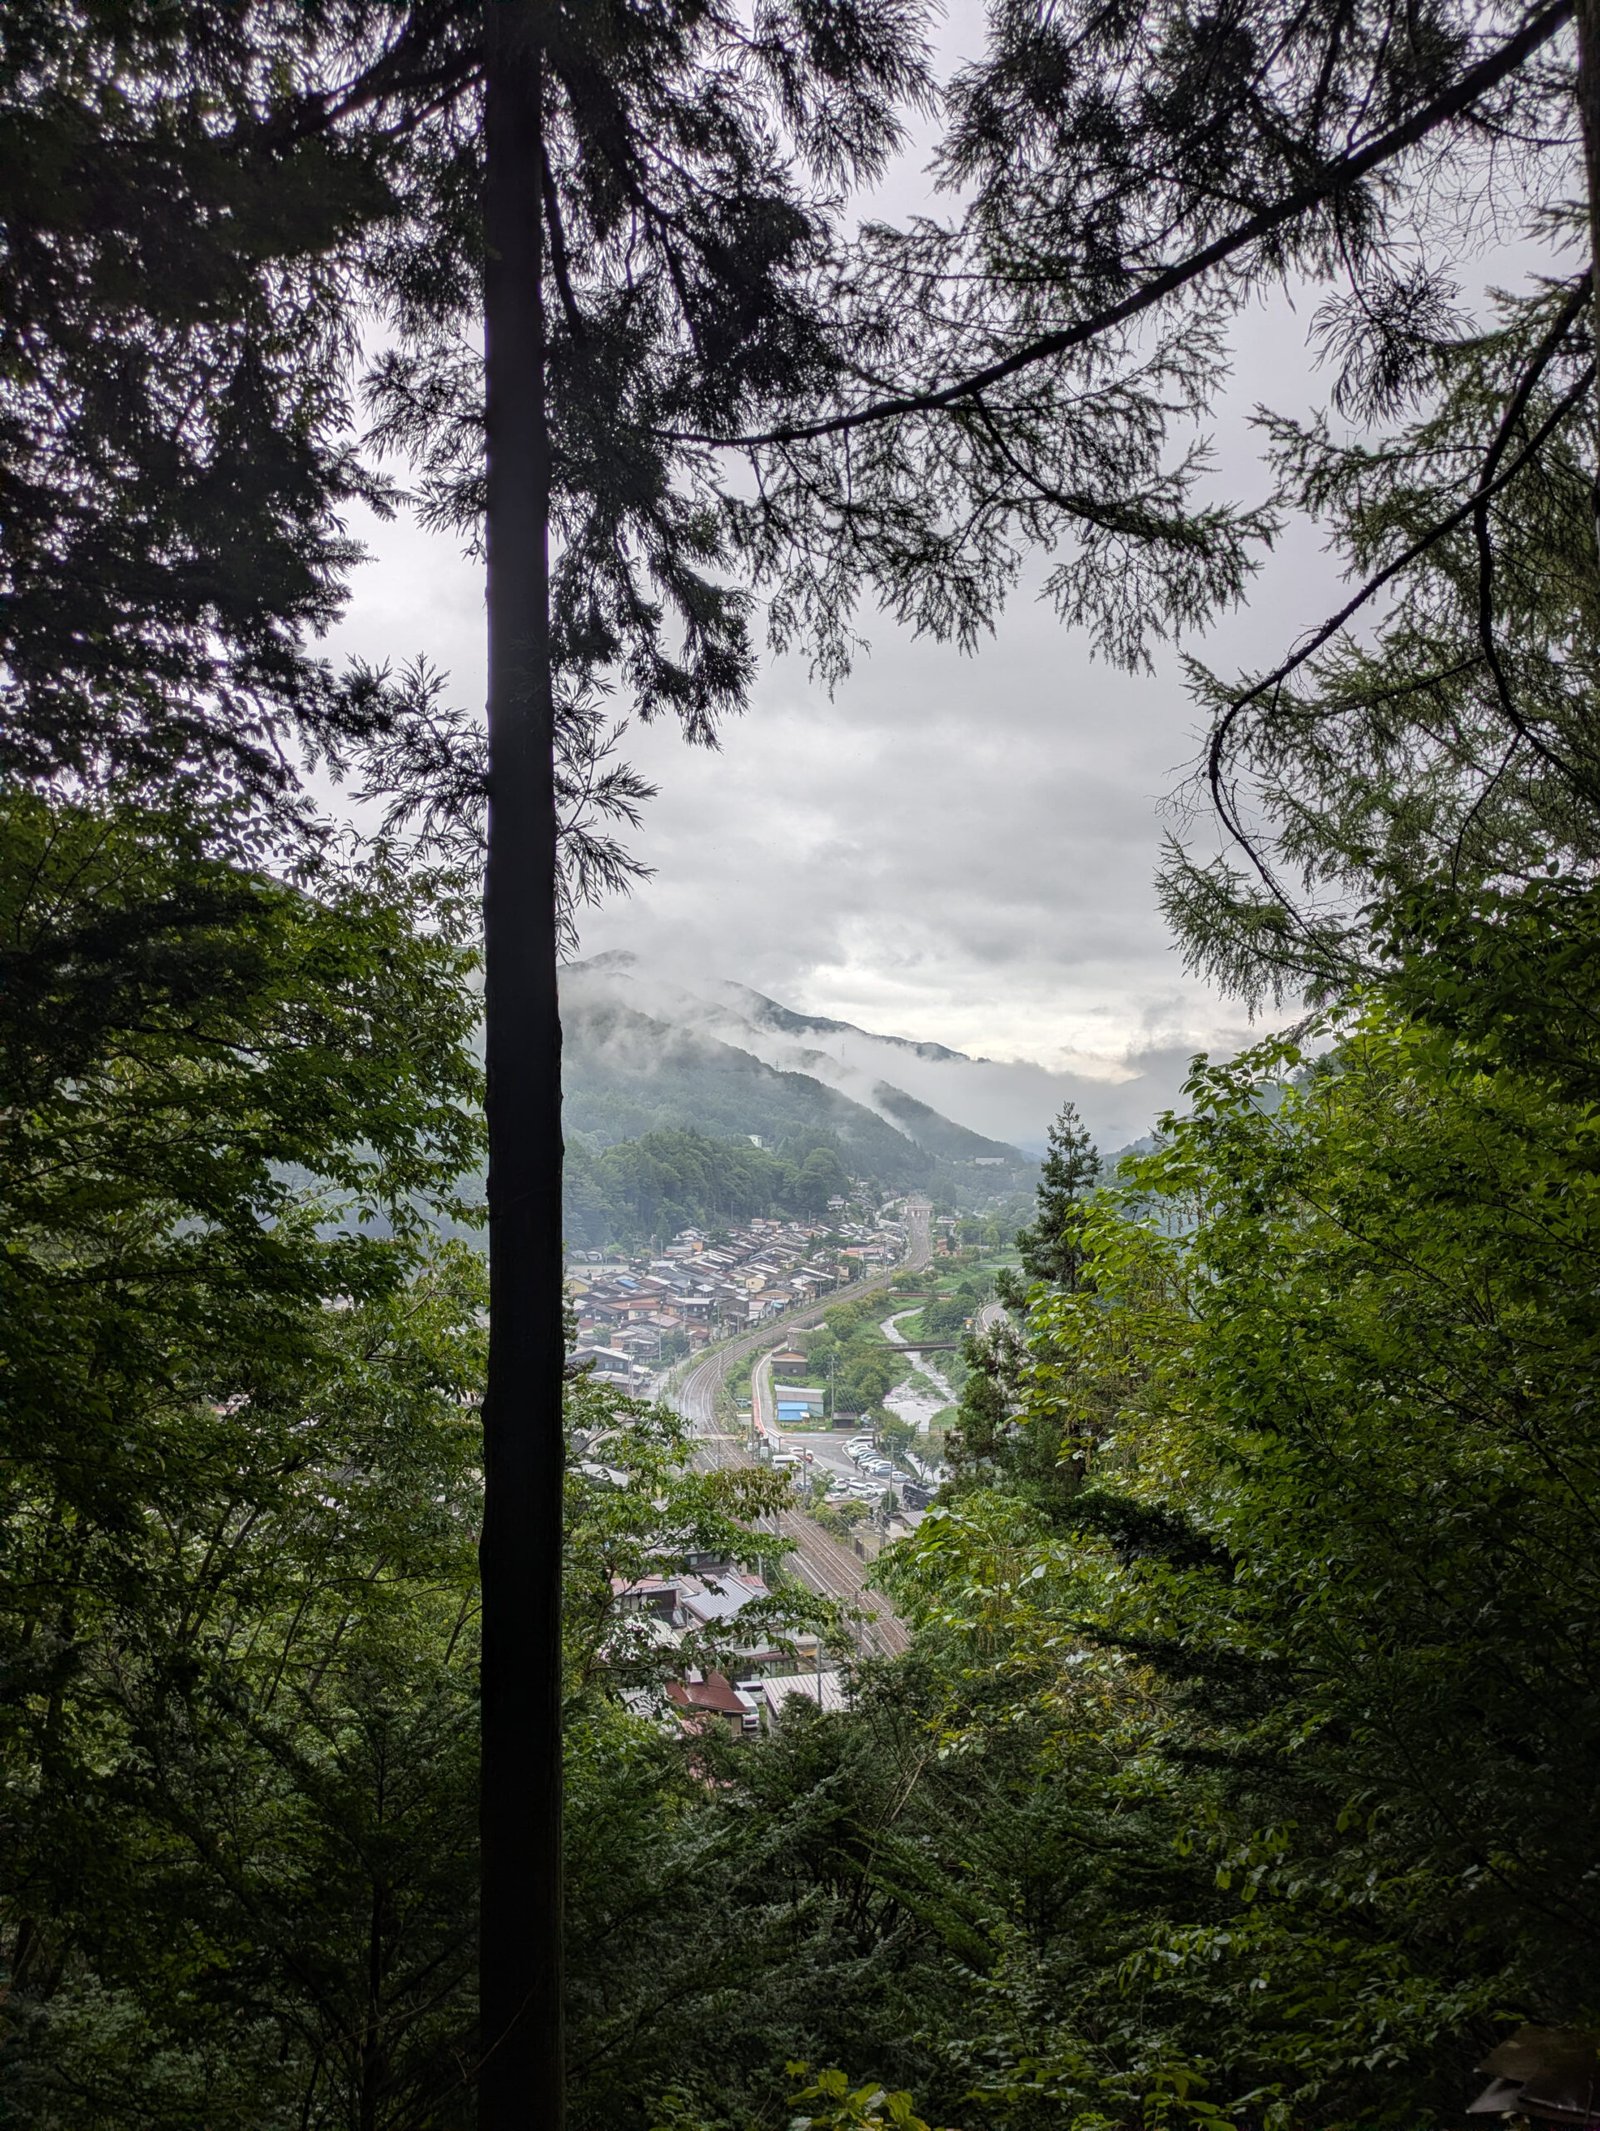
Magome to Nakatsugawa
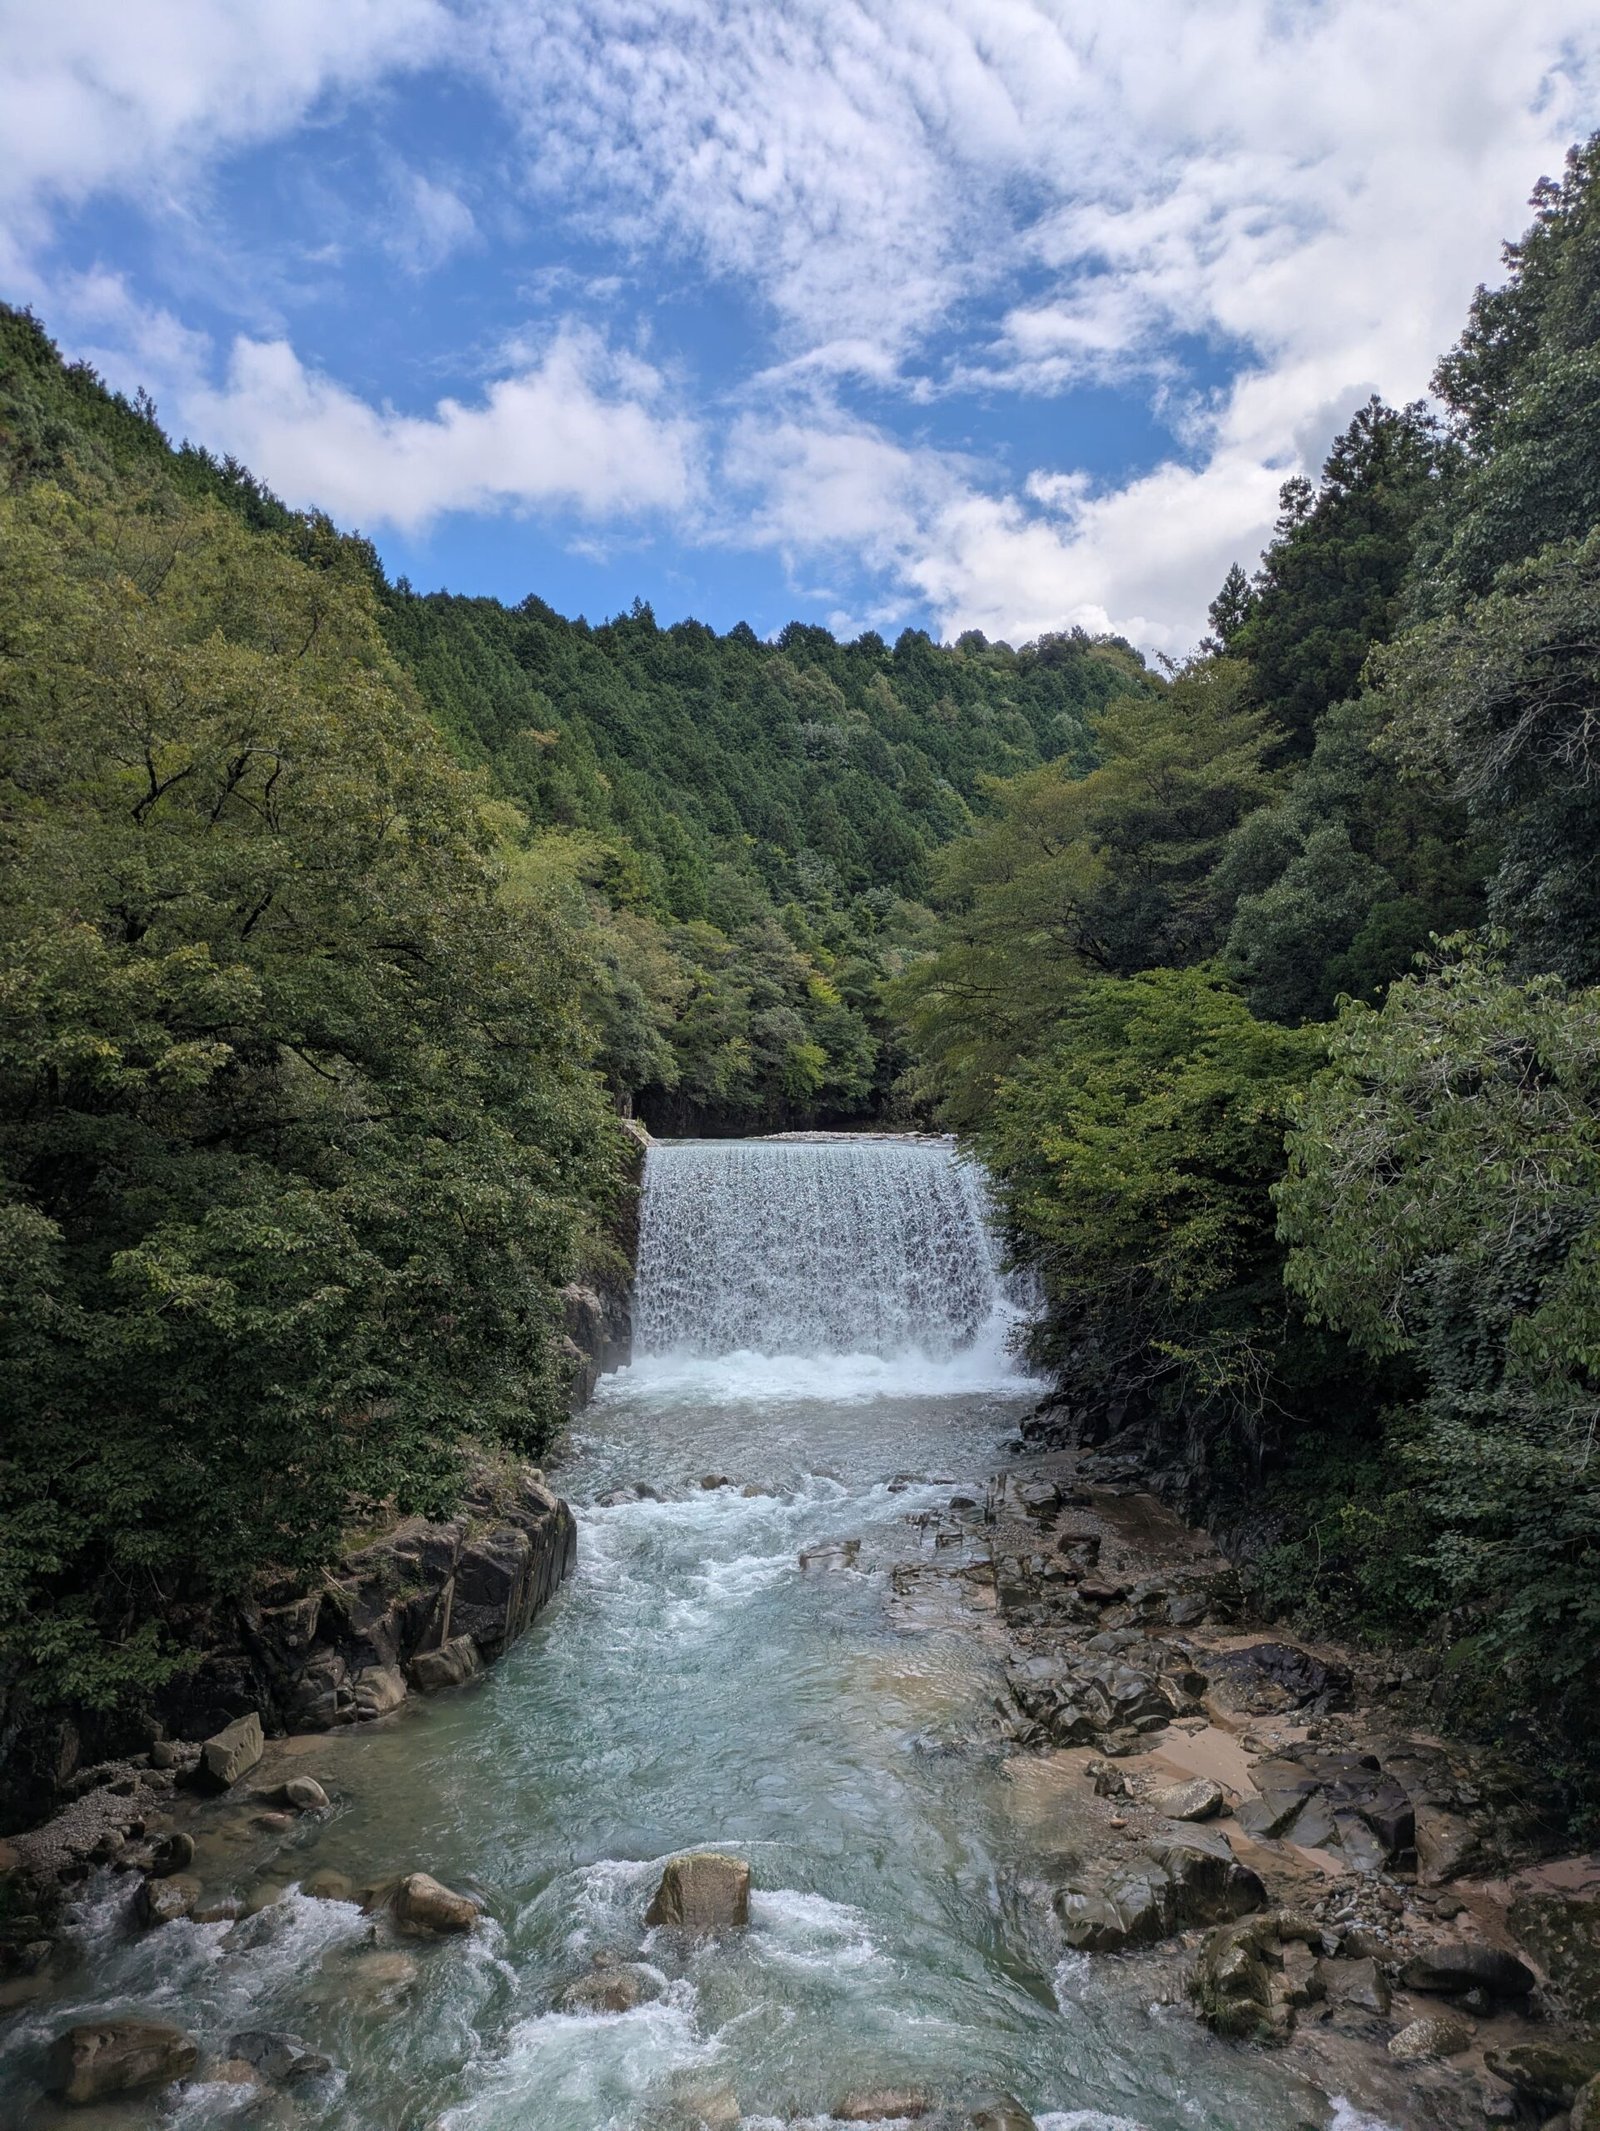
My Nakasendo Trail Itinerary (7 Days)
My adventure on the Nakasendo lasted a week, and I did it in the reverse order that is most common!
What to Expect
The terrain switches from compact gravel to the ancient stone paving, but to be honest, the ancient stones are tricker to walk on due to their inconsistent size and minimal grip (great for slipping if it’s raining!)For an experienced hiker, these trails shouldn’t be a problem. But there’s just enough elevation to fatigue someone ill-prepared.
Where to Stay
We stayed at two highly recommendable onsens and guesthouses.
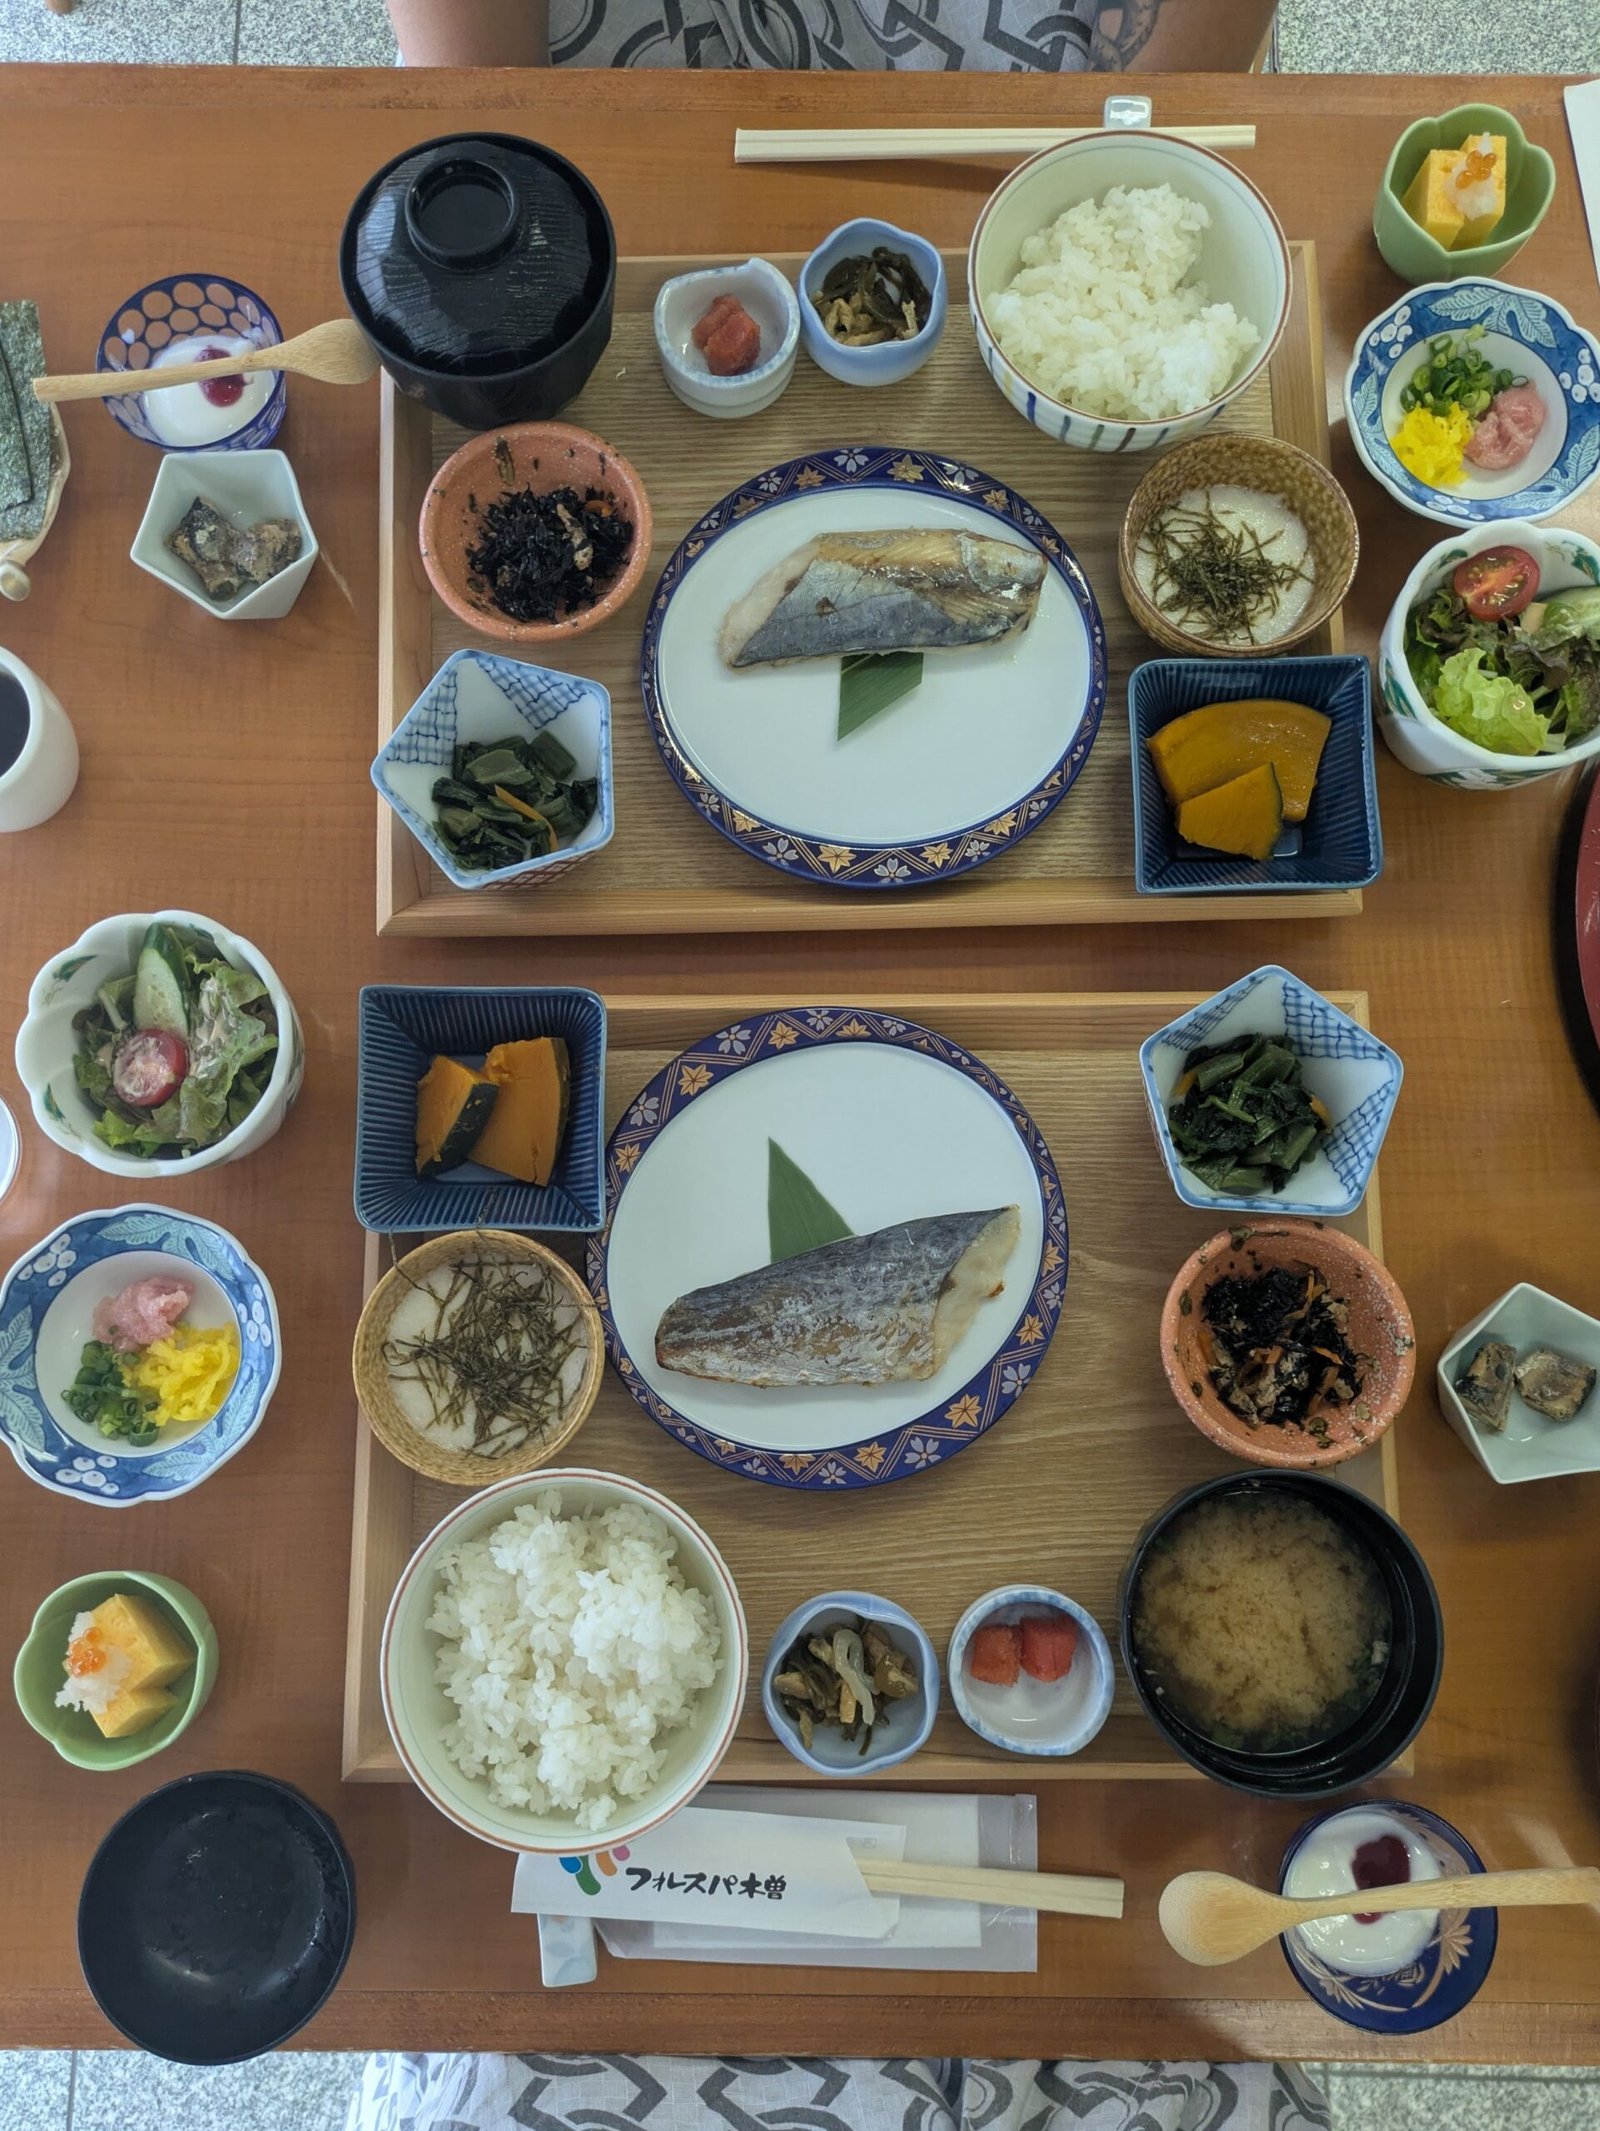
Atero-So Forest Spa in Nojiri. They offer traditional Japanese dining and a wonderful onsen to soothe the body after a long hike.
Guesthouse Nedoko. A four room guesthouse offering a great communal space, a very modern and clean kitchen and it is right in the heart of Magome, near restaurants, coffee shops and stores. Just a heads up, almost every Magome restaurant requires a reservation ahead of time. The host of Nedoko is very helpful with that.
How long does it take to hike Magome to Tsumago?
Can you hike the entire Nakasendo trail?
Yes, but you’ll be going through towns and walking on the sides of highways. Most people stick to doing sections such as the Magome Pass and the Torii Pass.
Is there luggage forwarding on the Nakasendo?
Yes, there is a luggage service that runs specifically for hikers along the Nakasendo and will deliver your bags to your hotel/guesthouse. They will pick up the luggages from your hotel in the morning and deliver it to your next stop on the same day. Costs are unique for every trip, as it depends on the areas you’re staying in. You can find out more here https://magome-luggagetransport.jp.
What’s the best time of year to hike the Nakasendo?
The best time to hike the Nakasendo trail is the fall. The summer in Japan is dangerously hot and humid, while September is monsoon season. October is your best bet.
What’s the best time of year to hike the Nakasendo?
Yes, I would book your accommodations in advance if you’re hiking the Nakasendo trail. You will be staying in small towns with limited housing. We booked everything on Booking.com.
Final Thoughts
The Nakasendo was one of the highlights of our trip! We were seeking an escape from the busy cities and enjoyed the quiet solitude of mountain passes and historic villages. I’d recommend everyone to do at least a small section!